

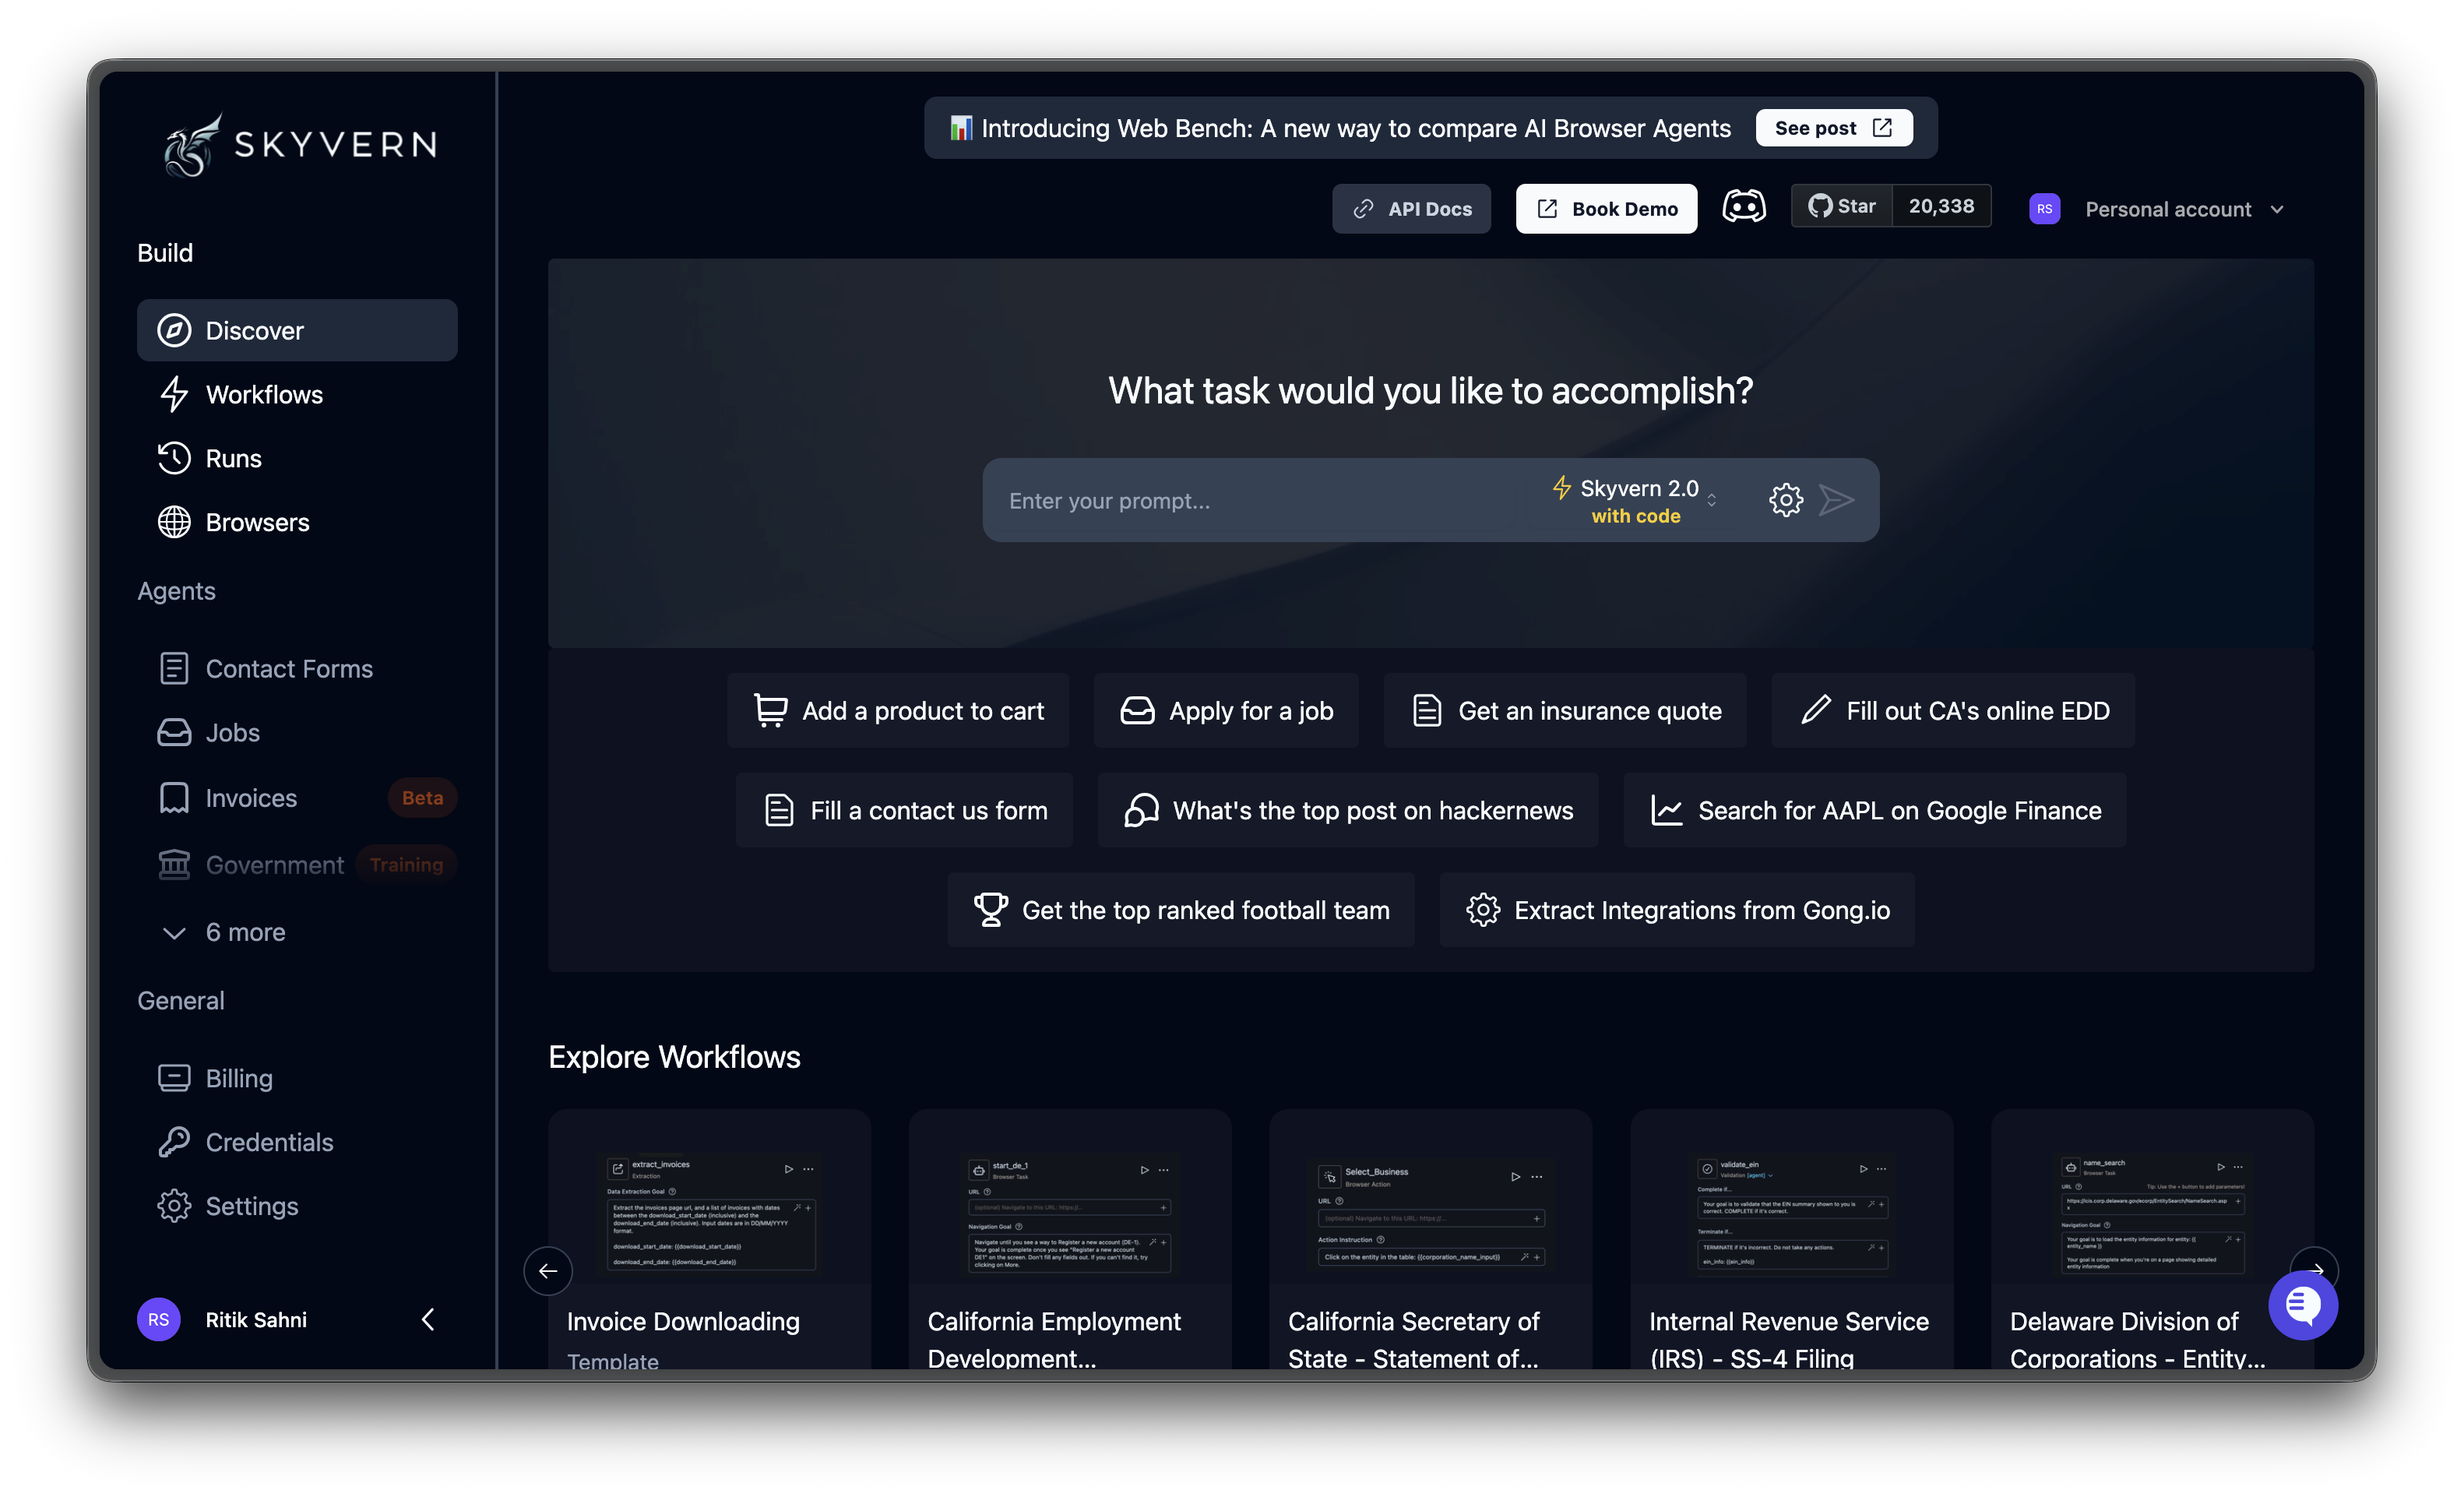
The prompt box
Type a natural language instruction describing what you want automated. Be specific about the goal and any data you want extracted. Examples:- “Go to amazon.com and find the price of the MacBook Air M4”
- “Fill out the contact form at example.com/contact with name John Doe and email john@example.com”
- “Get an insurance quote from geico.com for a 2020 Toyota Camry”
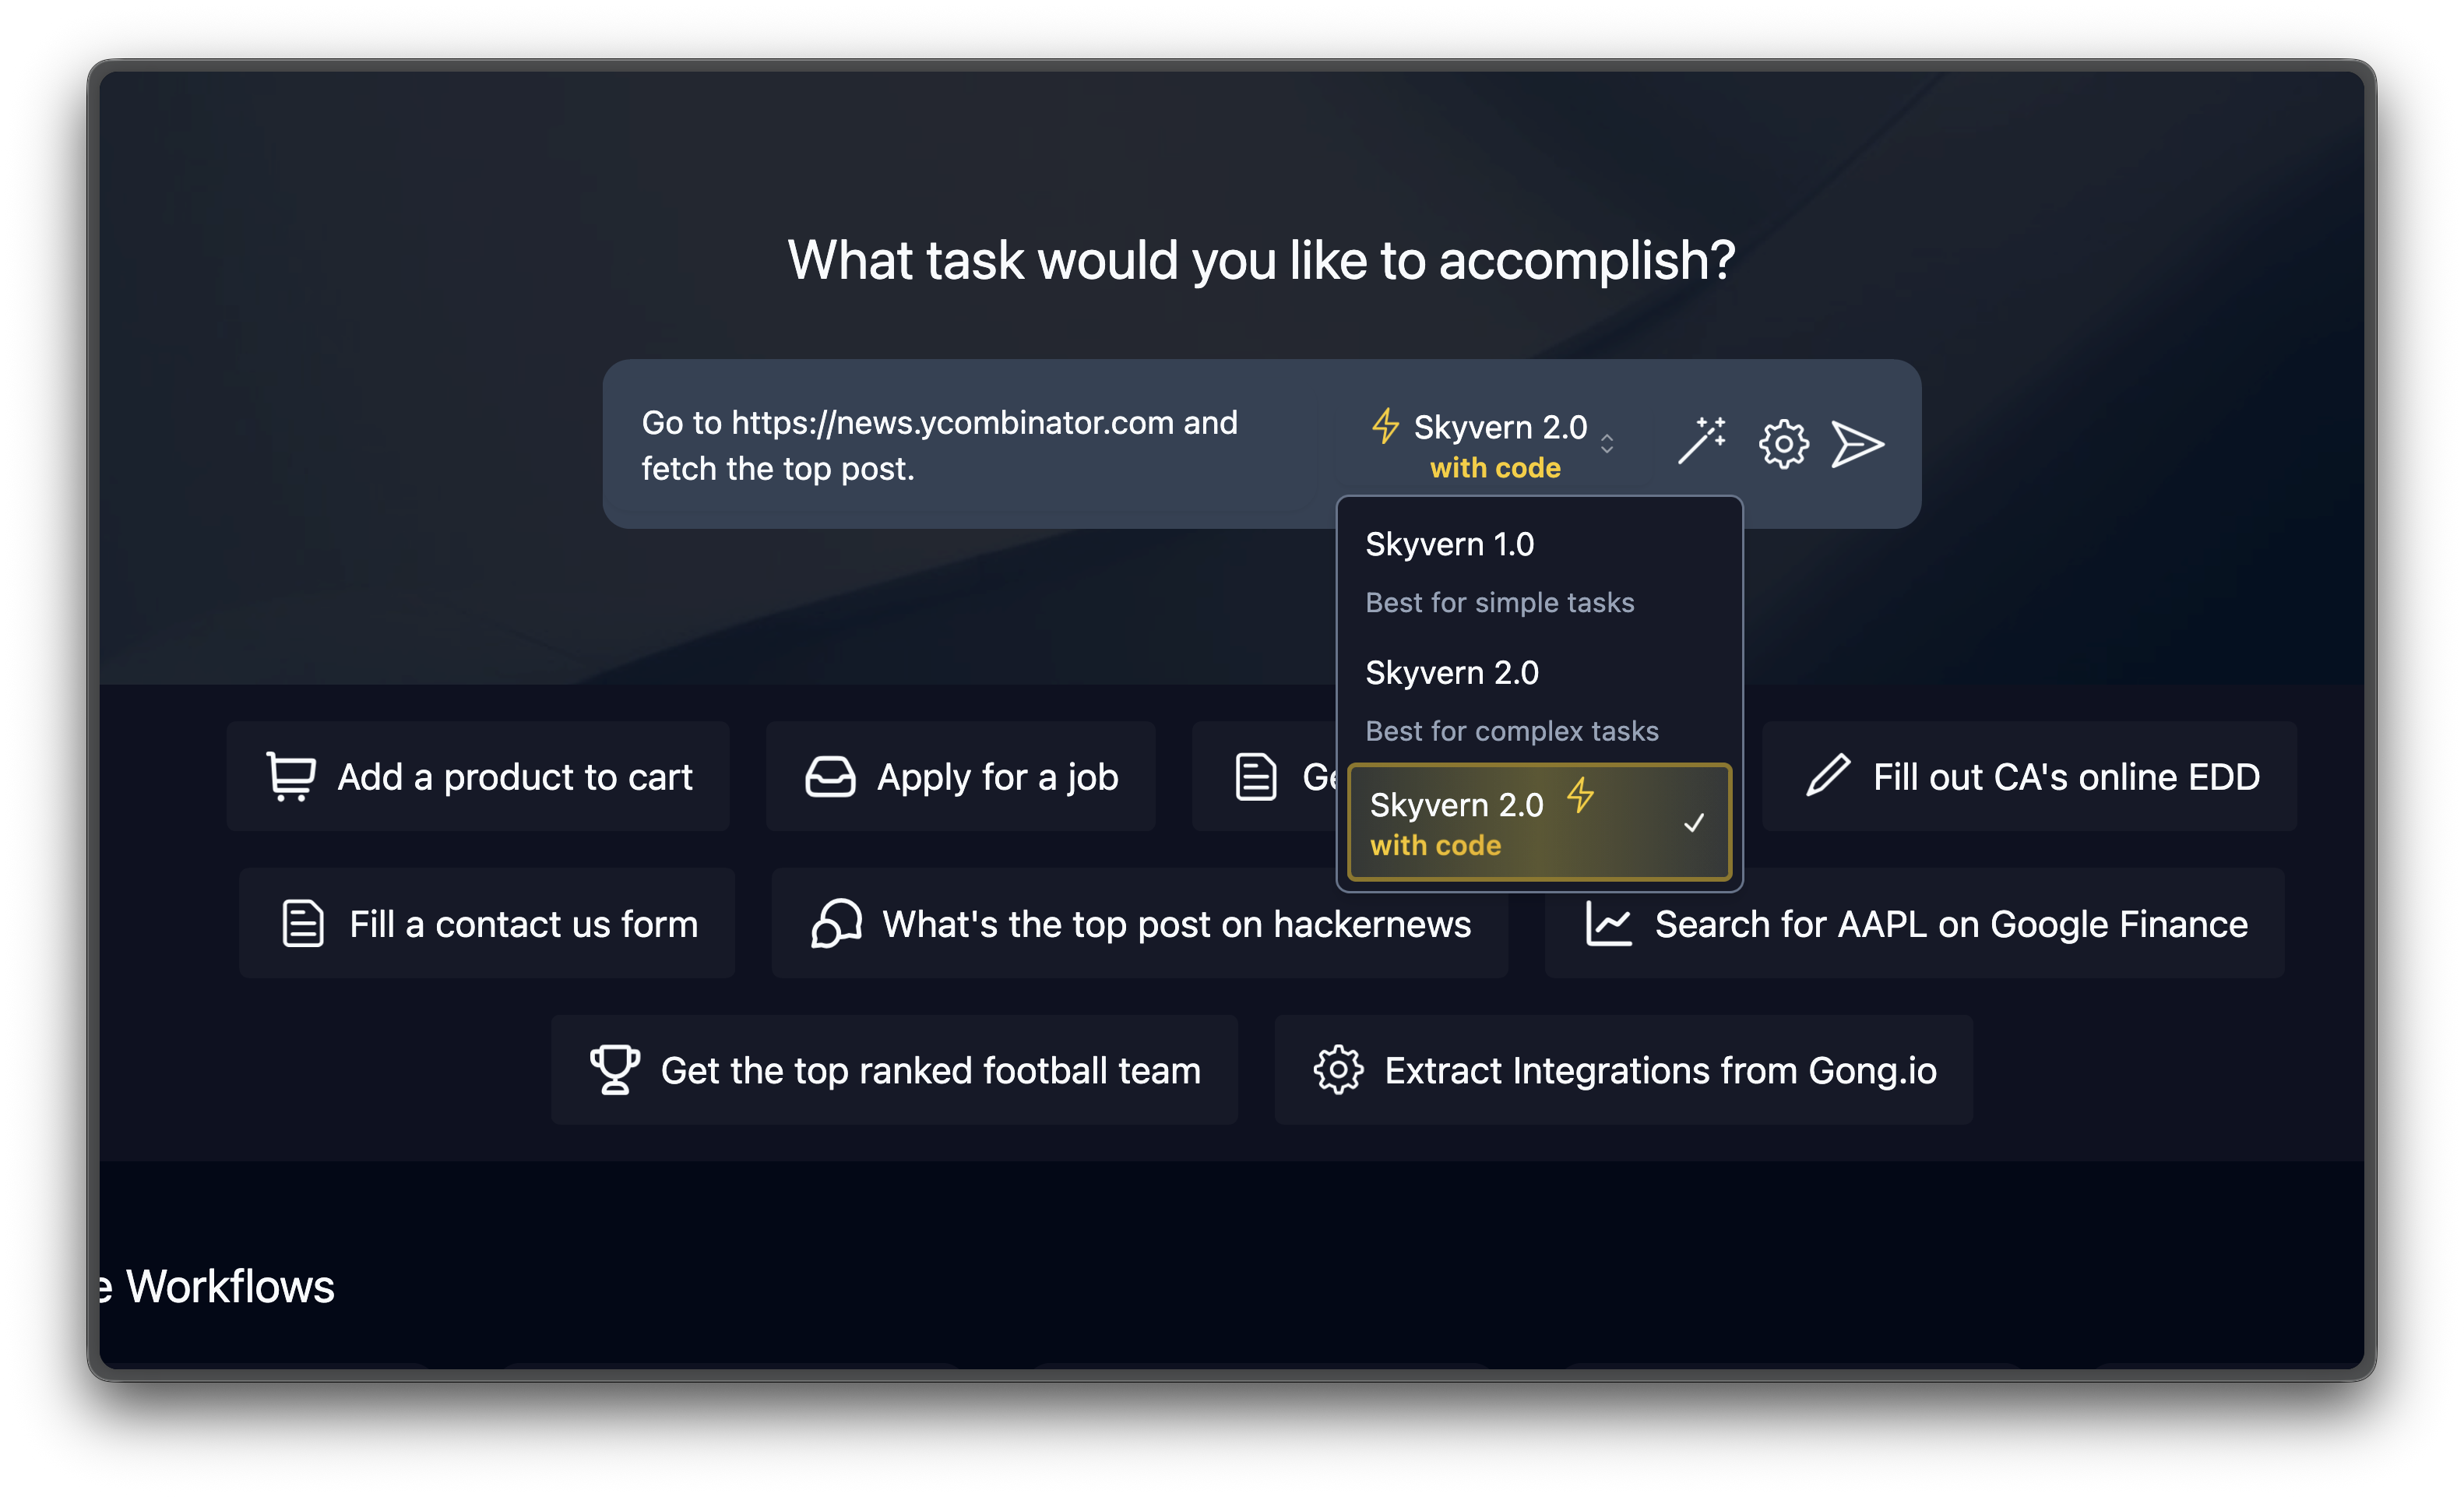
Choosing an engine
New tasks created from the Discover page use the default Skyvern 1.0 task engine. For API and SDK calls, theengine parameter controls which engine runs the task.
Advanced settings
Click the gear icon next to the prompt box to expand the settings panel.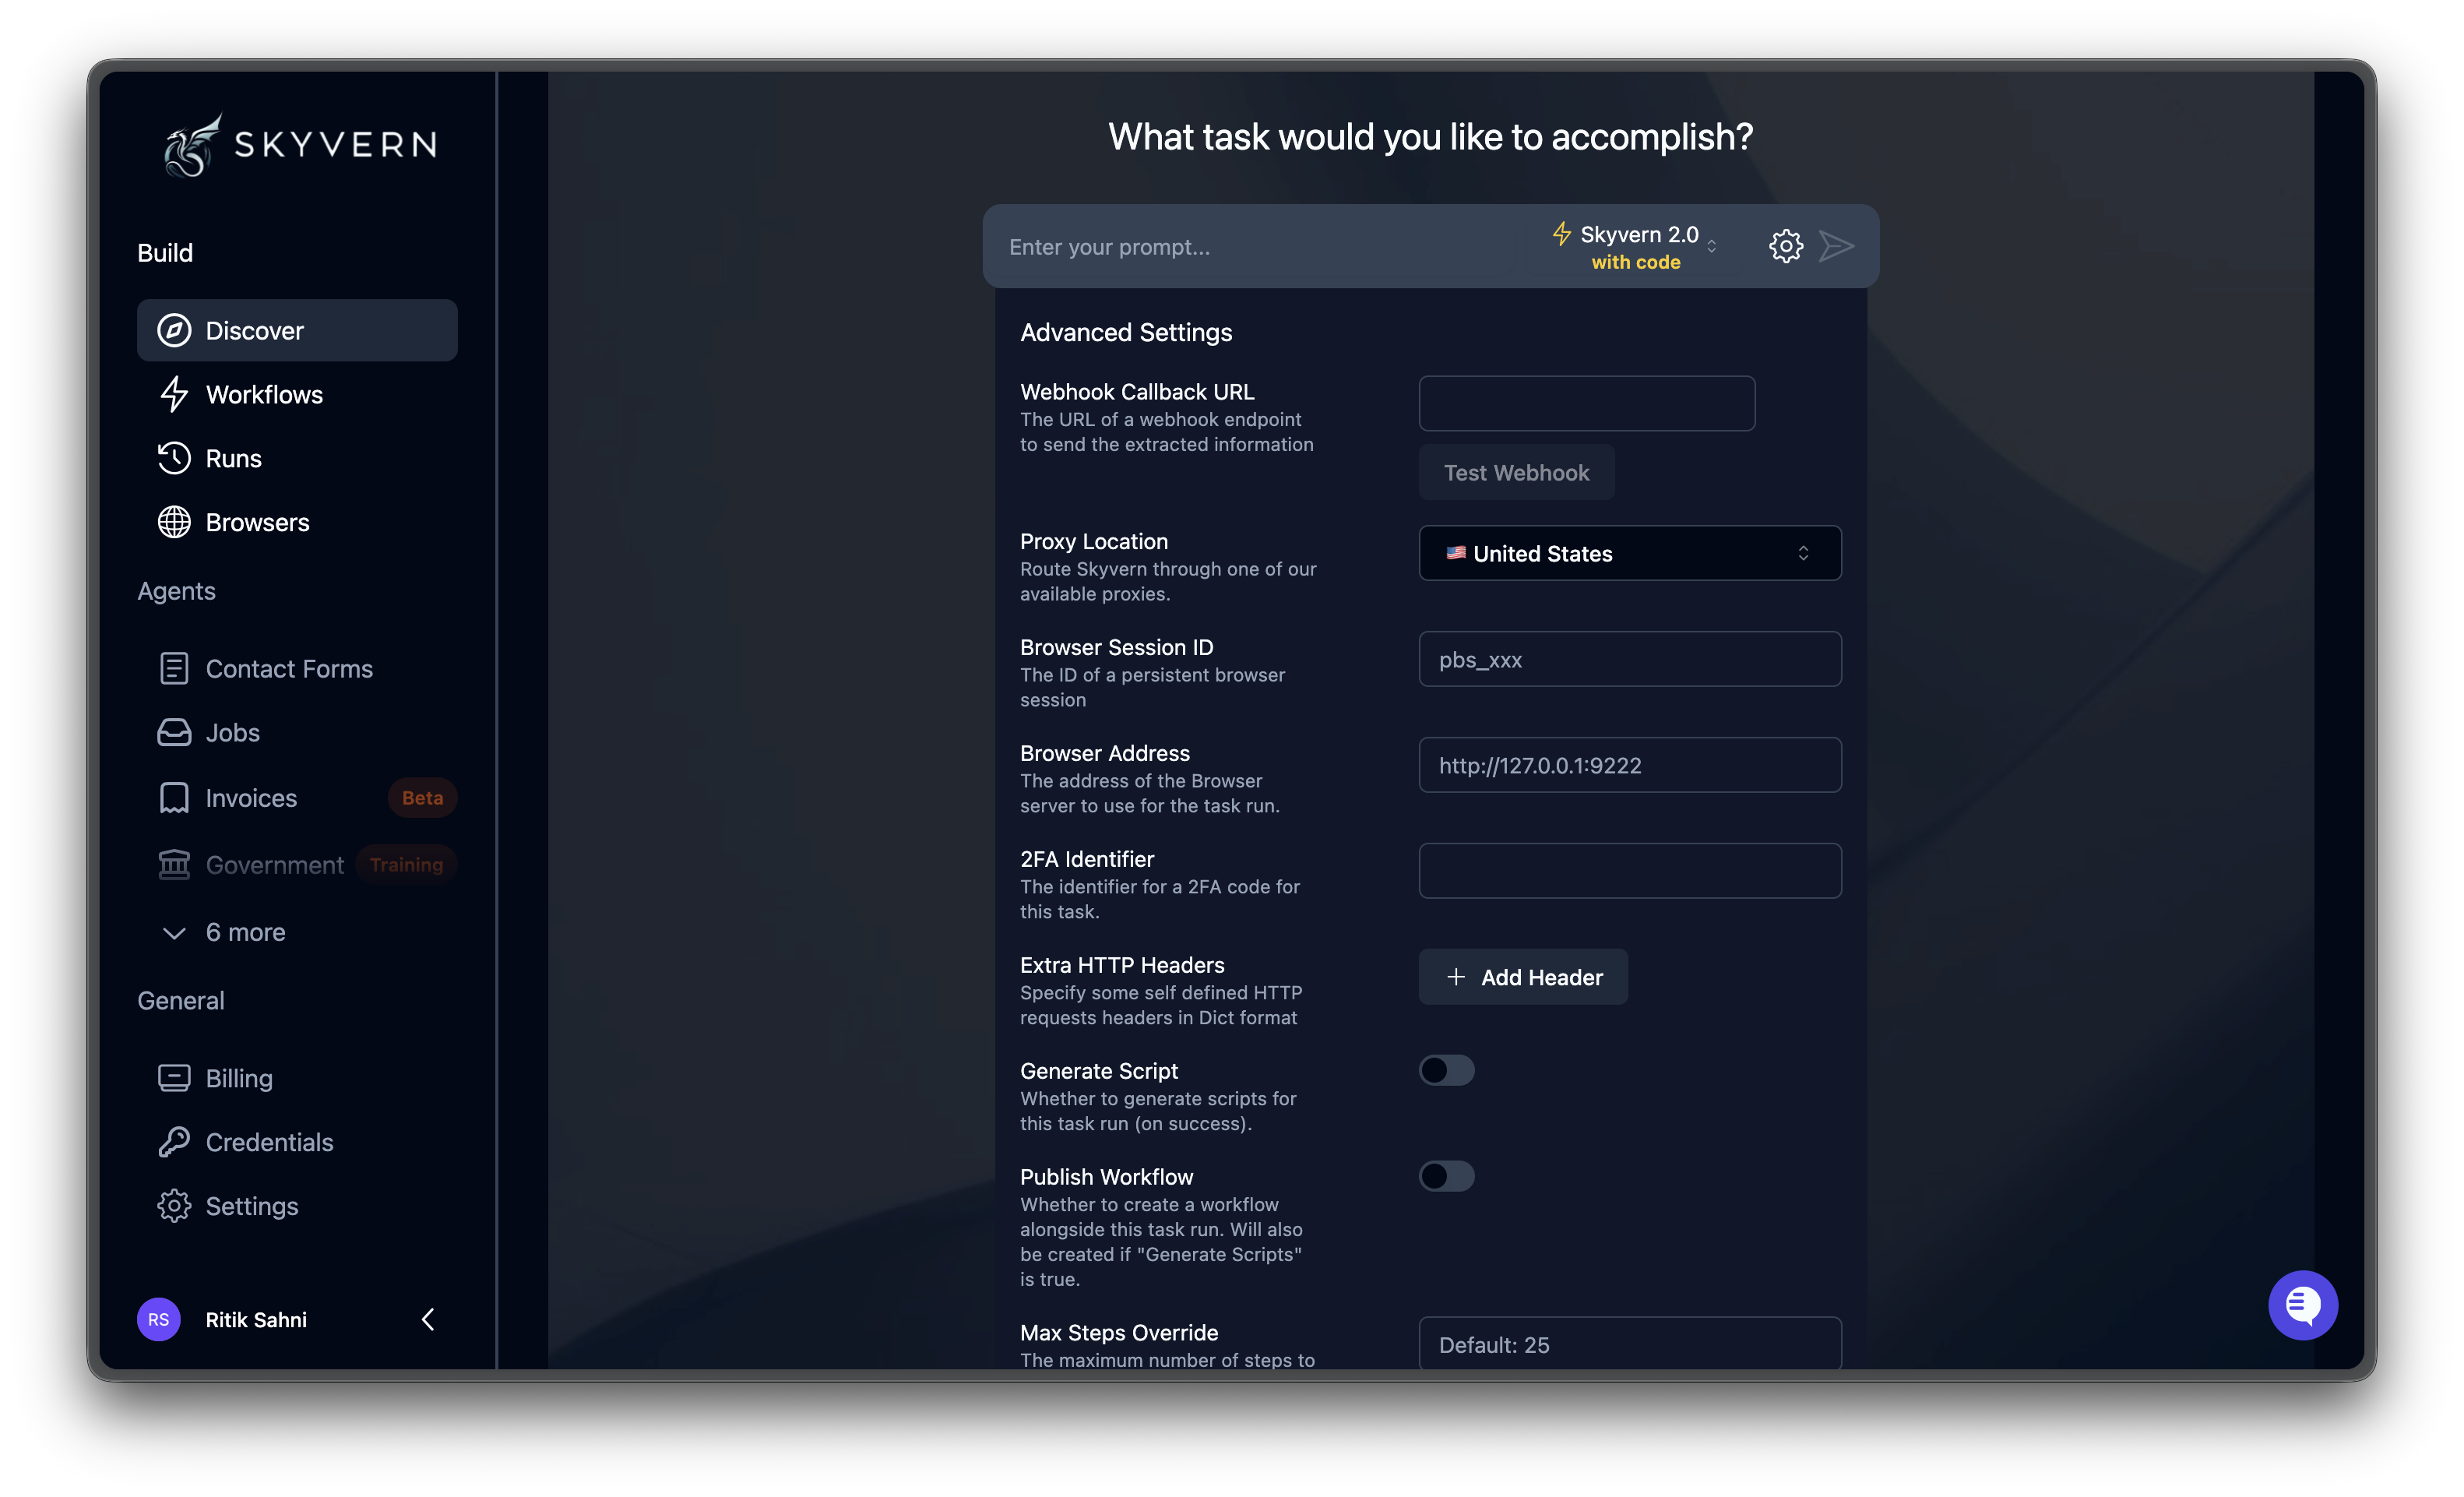
Data extraction schema
The Data Schema field in advanced settings lets you define the structure of extracted output as JSON Schema. Without a schema, the AI returns data in whatever format it chooses. With a schema, output conforms to your structure, making it predictable for downstream use.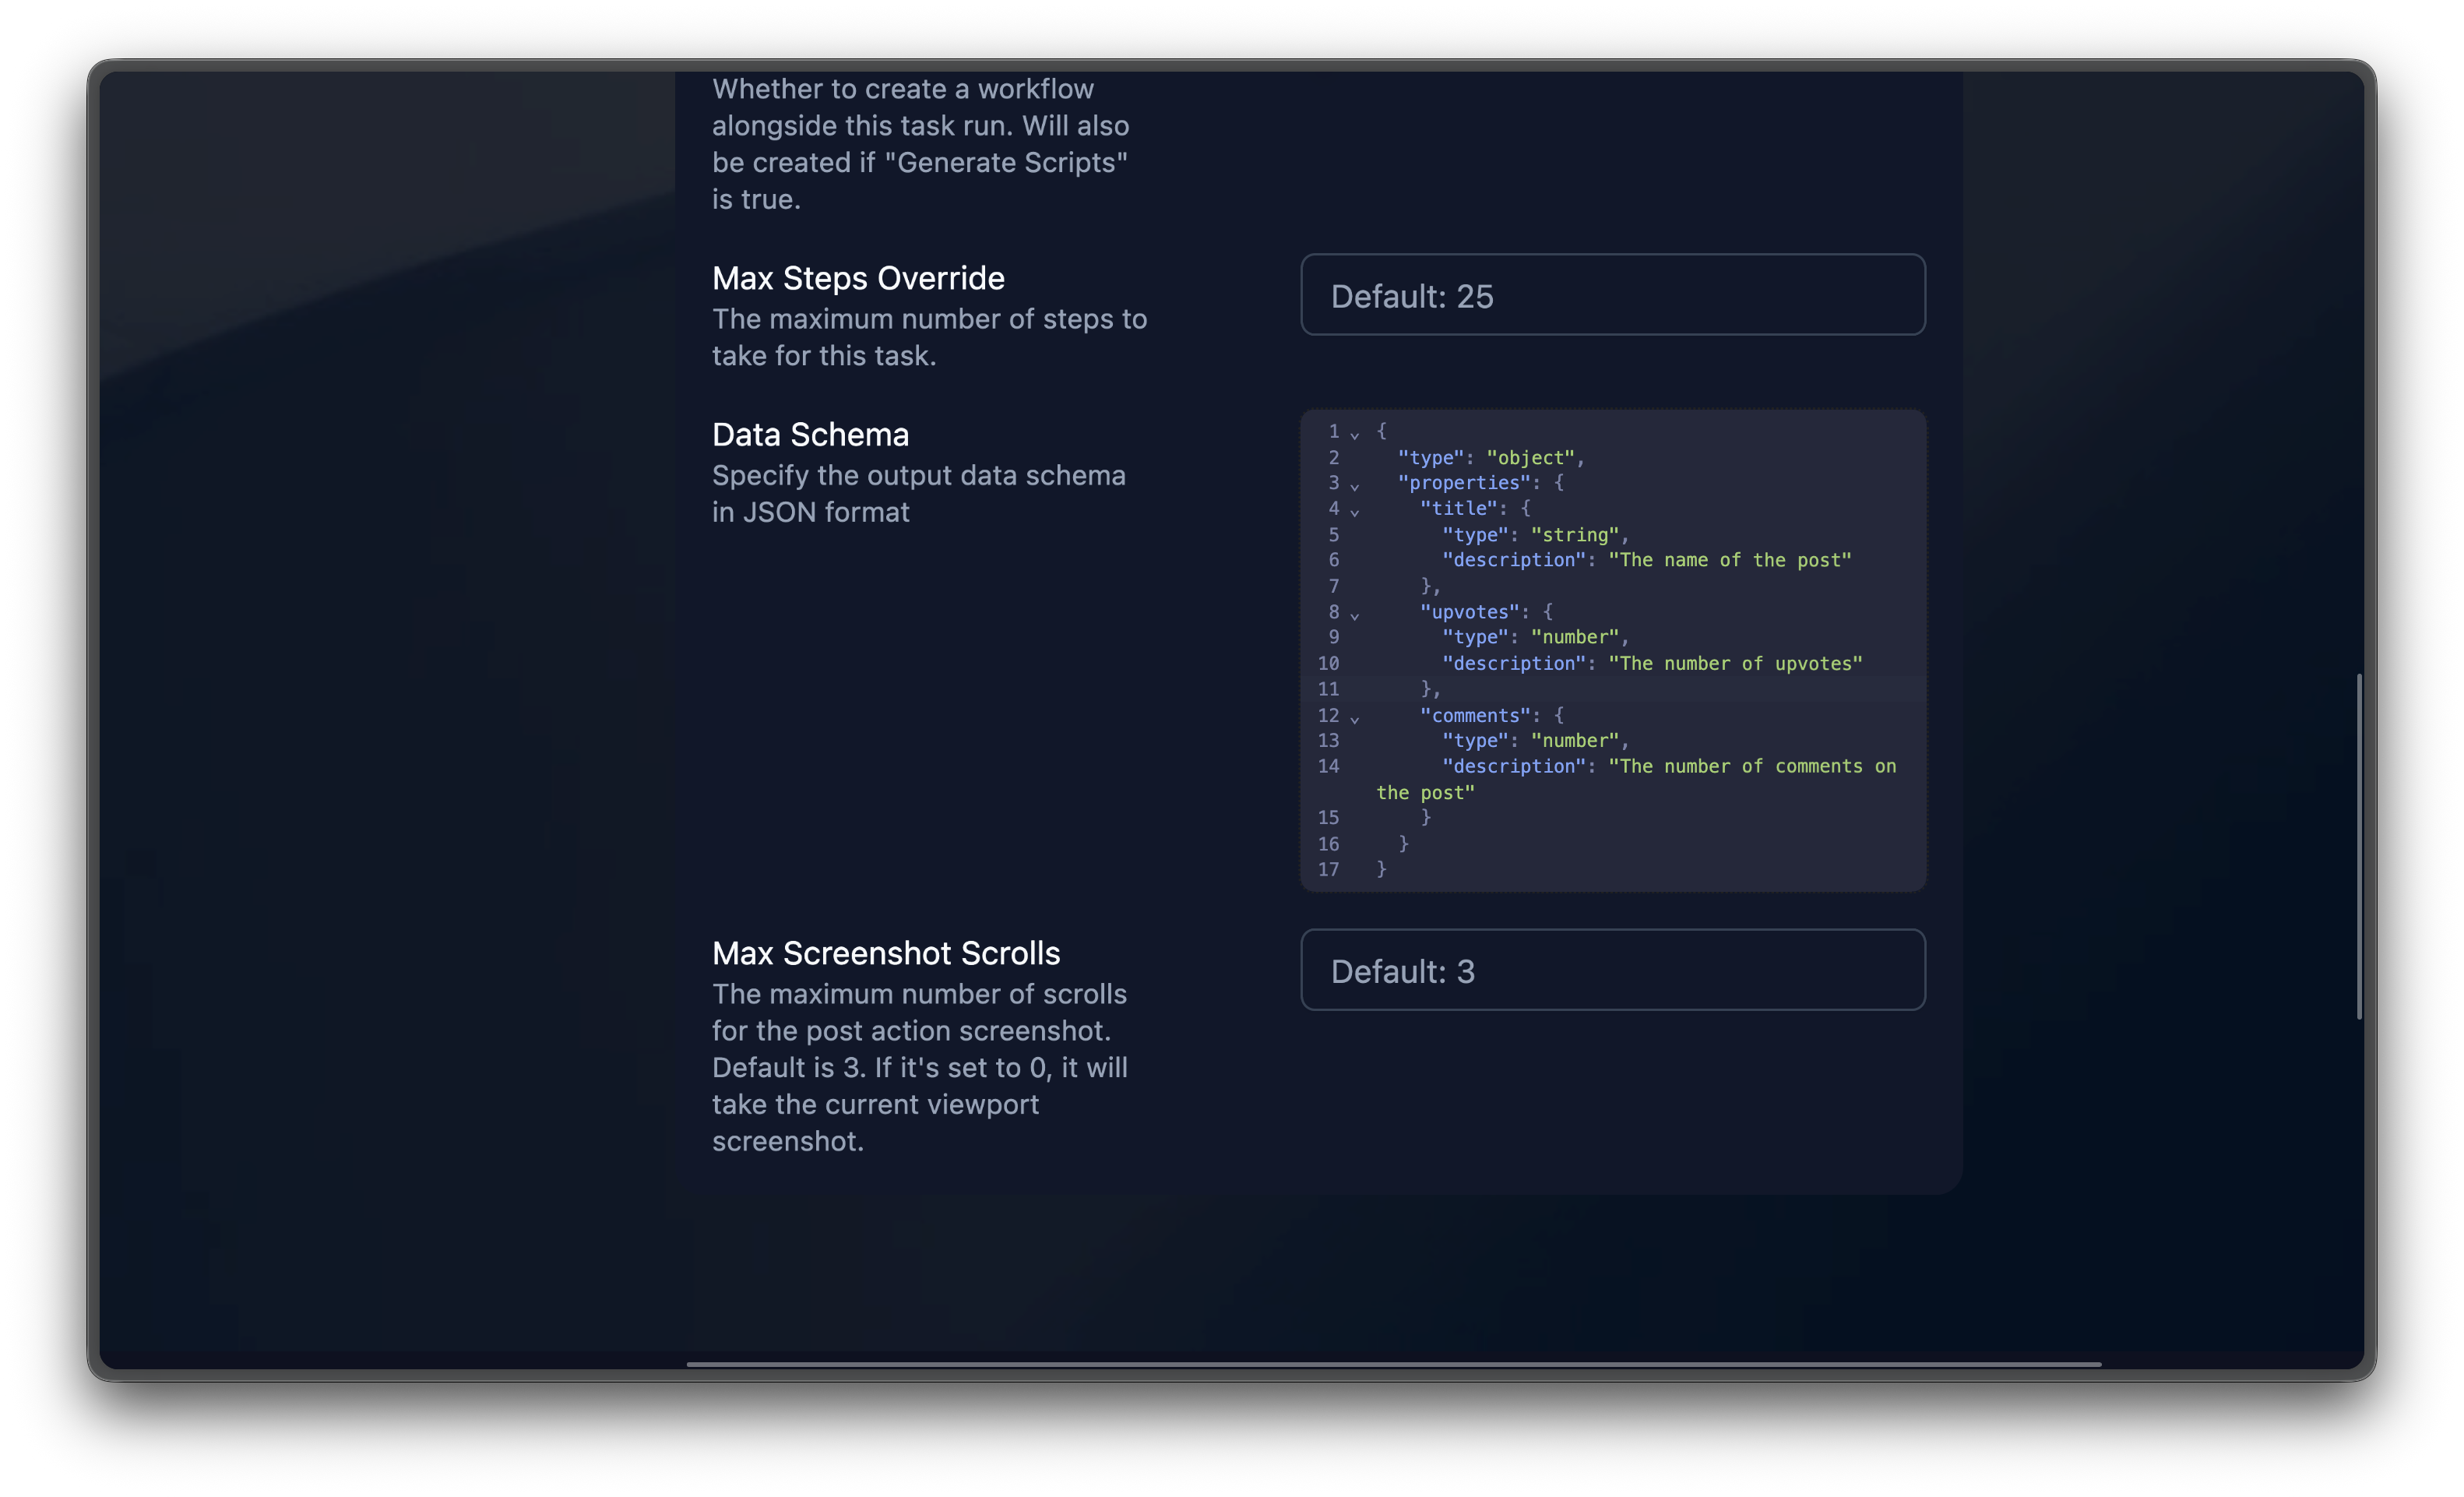
description field on each property to guide the AI on what to extract.
Example: Extracting a list of items
Example: Extracting a list of items
Agent templates
Below the prompt box, the Discover page shows a gallery of agent templates: pre-built automations for common use cases.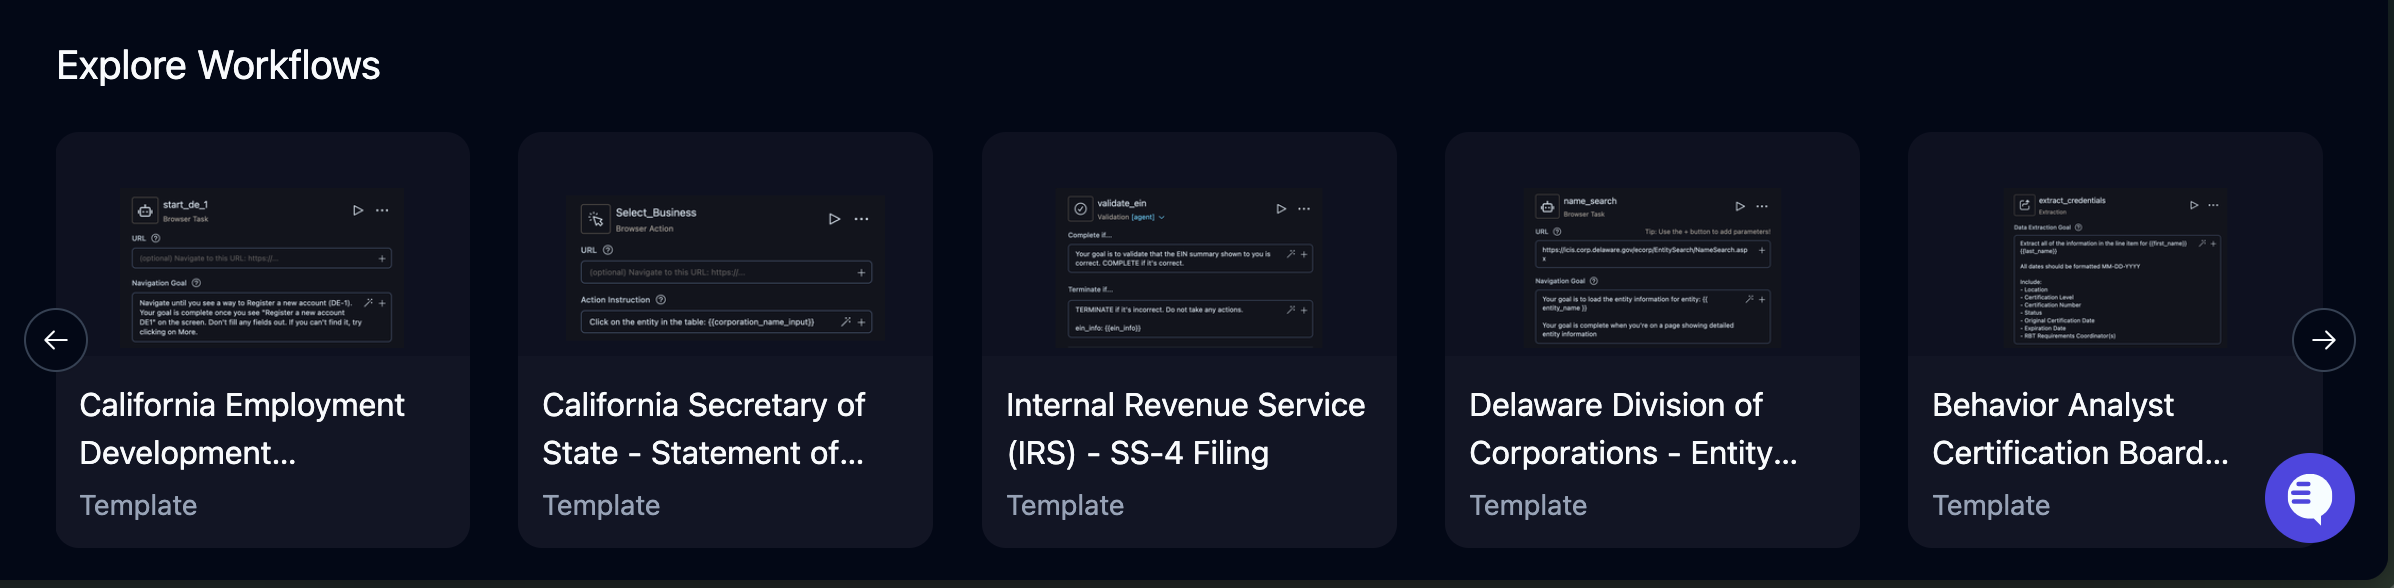
Tips for better results
Write specific prompts. Include the exact goal, target fields, and what “done” looks like.
Control cost with Max Steps. Set Max Steps Override to a reasonable limit (e.g., 10–20 for simple tasks) during development. Each step consumes one credit. Remove the cap once you’ve confirmed the task works.
Debug failures in order. If a task fails or produces wrong results:
- Check the Failure Reason at the top of the run detail page
- Read the Thought cards in the Overview timeline to find where the AI went off track
- Watch the Recording to see what actually happened on screen
- Review Parameters to confirm the inputs were correct
What happens next
- Your prompt is sent to Skyvern
- A cloud browser opens and navigates to the target URL (or finds one from your prompt)
- The AI analyzes the page, plans actions, and executes them step by step
- You’re taken to the live execution view where you can watch it happen in real time
- When complete, results appear on the run detail page under Runs
Next steps
Watching Live Execution
Monitor runs, take control of the browser, and review results
Build an Agent
Turn a successful task into a reusable multi-step agent