

Available Triggers
- New or Updated Skyvern Agent: Starts a Zap whenever an agent is created or modified.
Available Actions
- Create and Run a Task: Run an automation using Skyvern 1.0 (simple, single-step goals)
- Create and Run Task V2: Legacy action for explicitly requested V2 task runs
- Run an Agent: Run a pre-built Skyvern agent with parameters
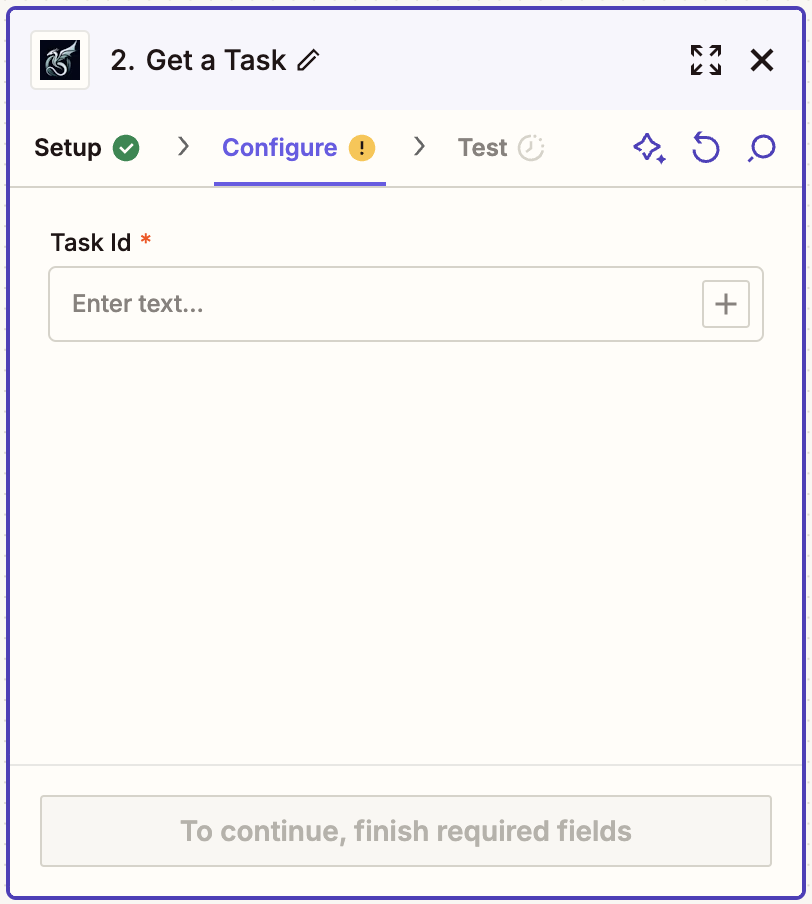
- Get a Task / Get a Task V2: Retrieve results from a previously run task
- Get an Agent: Retrieve results from a previously run agent
Setup
1
Add the Skyvern block
Create a new Zap or edit an existing one, search for “Skyvern” in the Apps section, and choose the action or trigger you want.
2
Connect your account
Click Sign in on the left panel and paste your API key from Settings.
3
Configure
Fill in the fields for your chosen action. See the field reference below.
4
Test
Review “Data In” to verify what will be sent, click Test step, and monitor progress in your Skyvern dashboard.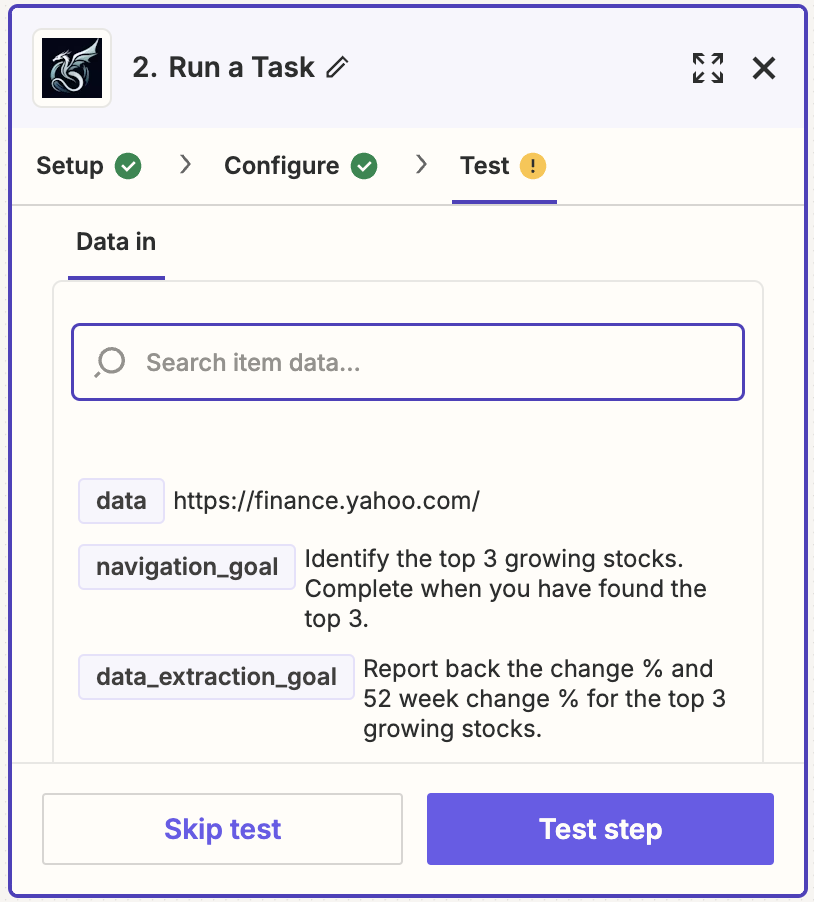
Field reference
Create and Run a Task
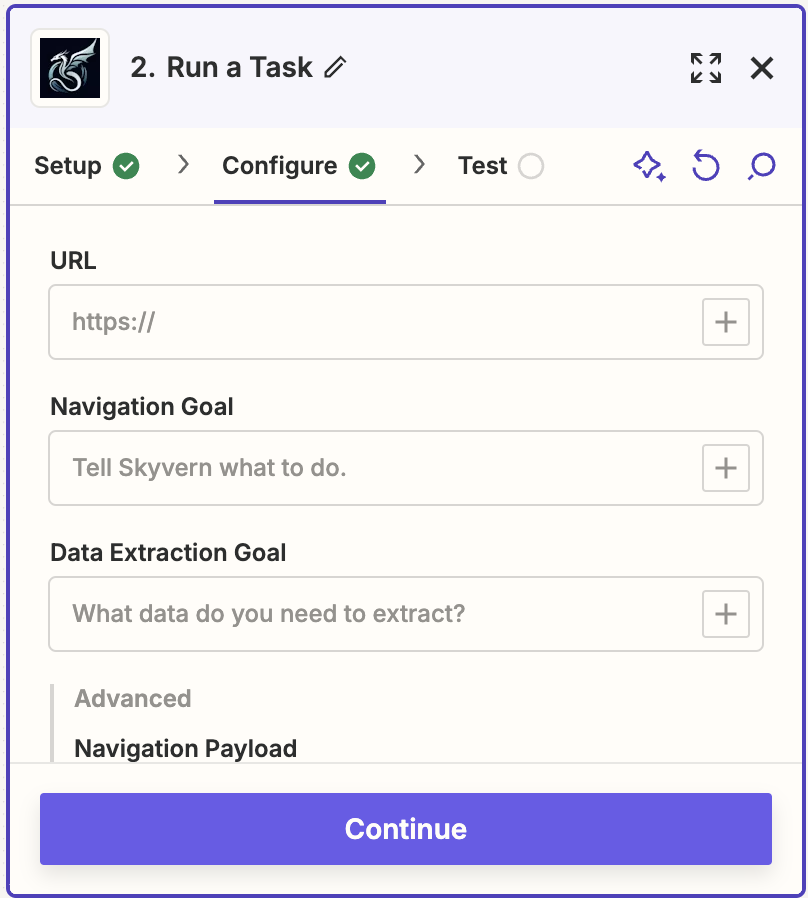
- URL (required): The starting page for the automation
- Navigation Goal: What Skyvern should do on the page. Omit if only extracting data.
- Data Extraction Goal: What data to pull from the page
- Navigation Payload: JSON input data for forms. Lets you reuse the same task with different data.
- Extracted Information Schema: JSON schema defining the shape of extracted data
- Webhook Callback URL: URL to notify when the task finishes
- Max Steps: Cap the number of steps to control costs
The navigation goal describes what to do after loading the URL. Don’t include “go to website X”; use the URL field instead.
Run an Agent
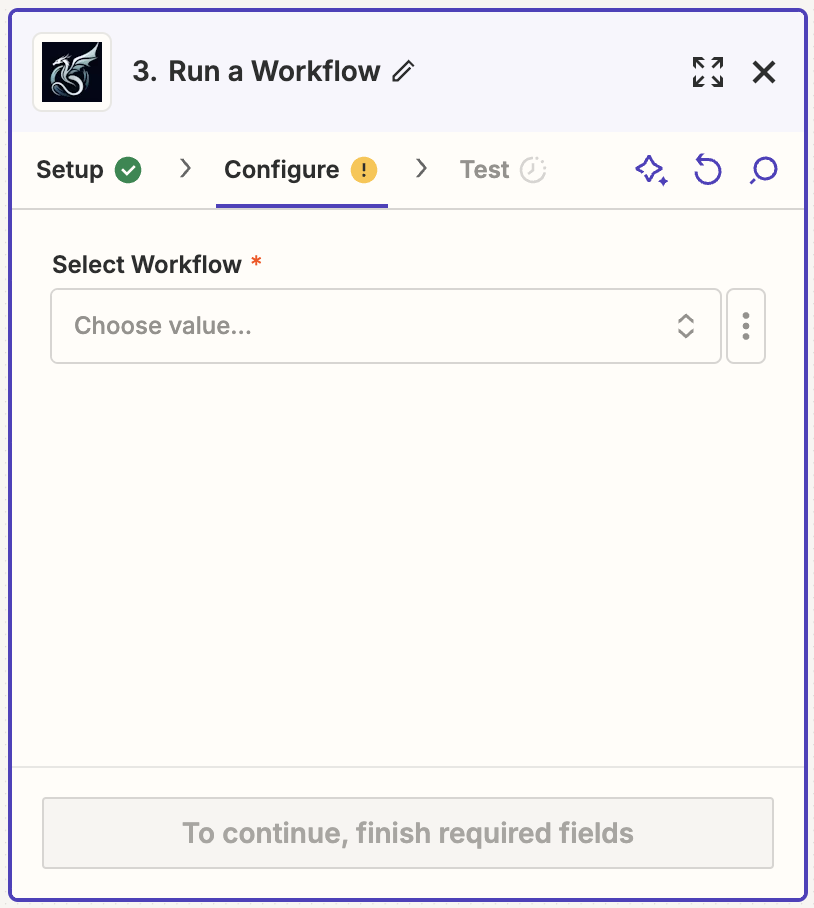
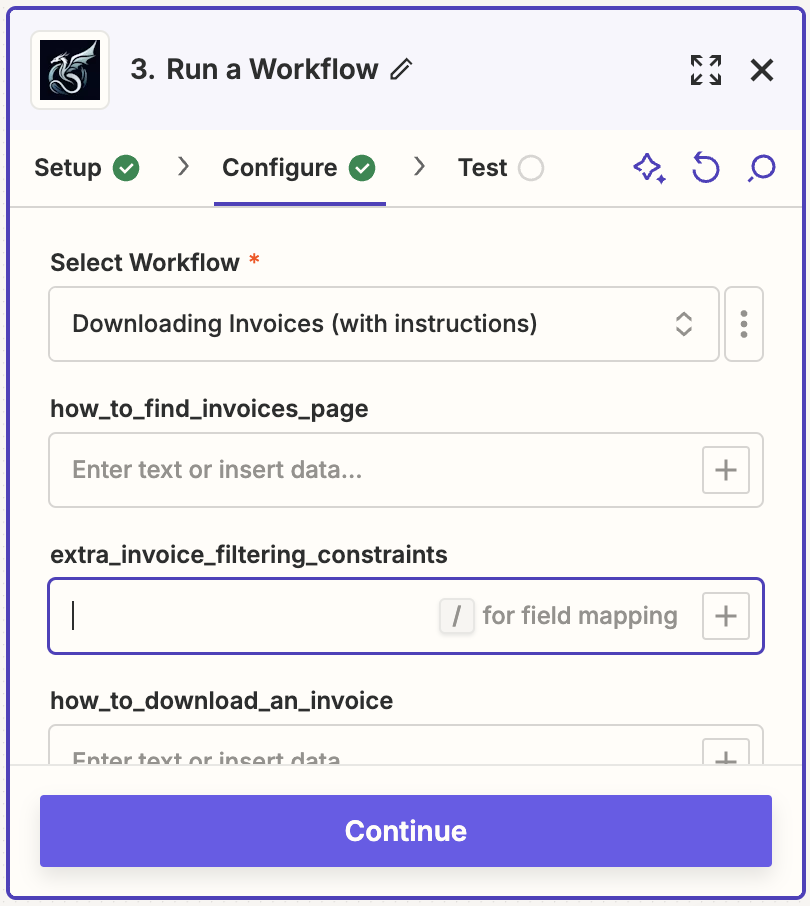
First, create your agent in the Skyvern UI.- Agent (required): Select the agent to run
- Parameters: Fill in any parameters defined in your agent
Get a Task / Agent
Retrieve the output of a completed run.- Task ID (required): Starts with
tsk_ - Agent Run ID (required): Starts with
wr_
Next steps
Build Agents
Create reusable multi-step automations in Skyvern
Use Webhooks
Get notified when tasks complete